Well, I've been hunkering down and going through my half-completed folder and trying to finish up some old projects. You can see these along with wireframes and the original concepts in the finished gallery on my site (
www.purpleboogers.com if you are directly on my blog). It's been quite gratifying finishing up these old projects. Some people say the hardest part of a project is starting it. I disagree. That is the 2nd hardest part. The hardest is finishing it. (And knowing when to call it done.) After finishing these 3 up I still have a folder of about 60 half done projects. I guess I have my work cut out for me!
Warner & Euclid
 |
| Warner & Euclid |
I fell in love with the concept of this piece ages ago on Deviant Art. It is the work of "
Antz81". Anyway, I modeled it ages ago, but kept running into issues with the hair of Warner (the top bunny). Since it was just short of completion I just powered through it last week. I'm not entirely satisfied with his hair, but I got to the point where I had to just call it done. The funny thing was, that a lot of my frustration had to do with a bug in Blender that was fixed about 2 weeks after I finished the project: Here is the
change. I've yet to test hair since this change, but I hope it becomes a bit more manageable. I had a lot of trouble getting it to space evenly over the character and the child particles do not always go the direction that you want them to. With enough tweaking you can get something close though.
 |
| Leeds |
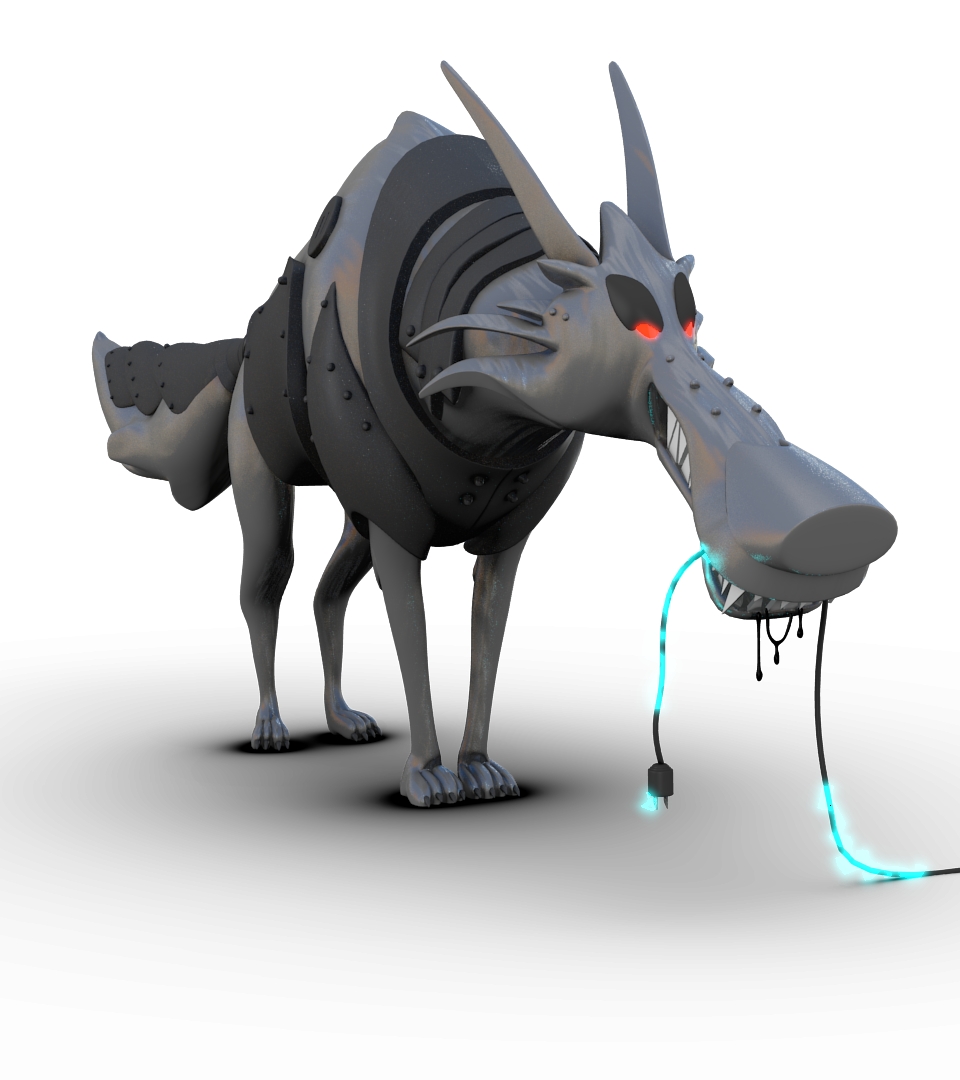
Leeds
This cuddly looking wolf is one of the
Stainless Steel Timber Wolves from one of my favorite artists,
Cory Loftis. If you have taken a look at my finished projects, you might see that a number of the pieces concept art can be attributed to this very talented artist. I can't get enough of his characters. This is another piece that I started ages ago and just fell by the wayside for a chunk of time. Poor Leeds did not have feet until this last go around to finally finish him up and get him composited with glowy eyes and all. Having chrome/silver characters is especially nice because you don't have to go crazy with textures!
Silver Surfer
 |
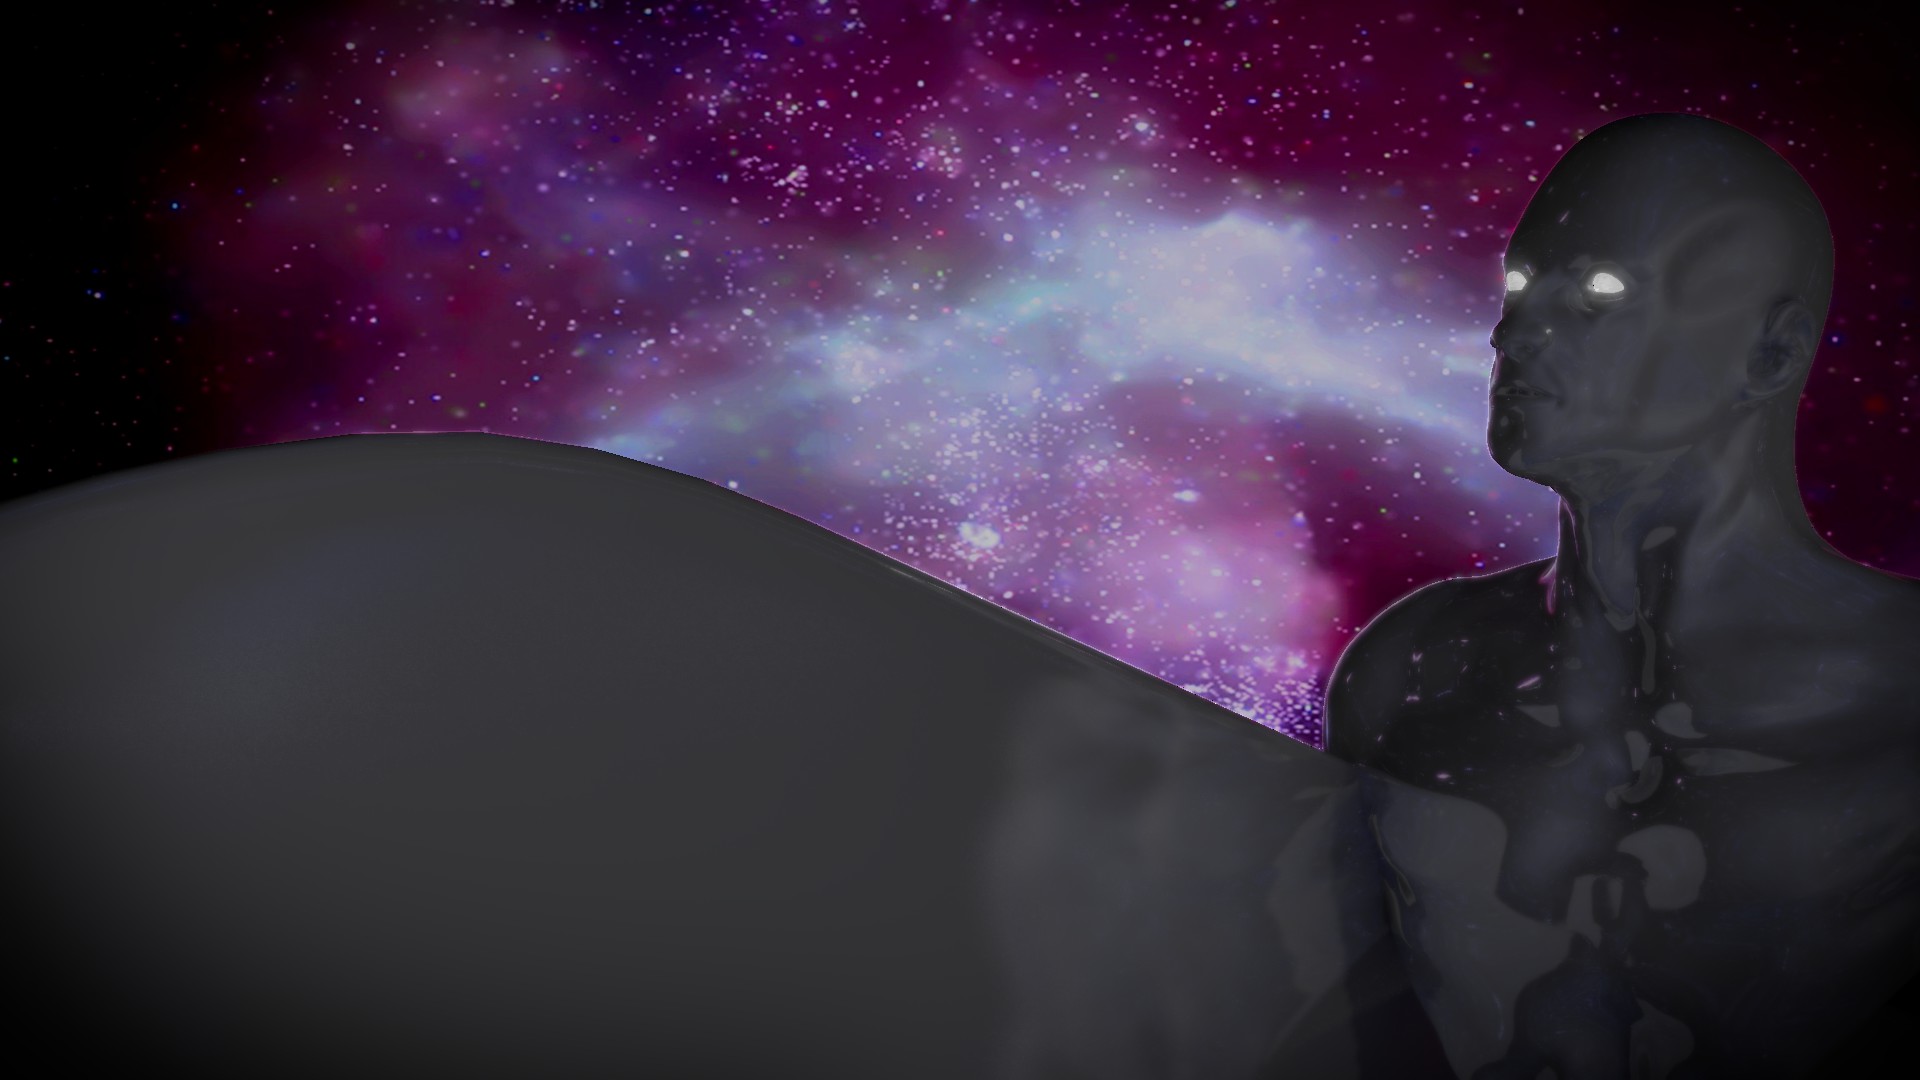
| Silver Surfer |
This project did not actually start as the Silver Surfer, but kind of just morphed into him. This actually started as just a quick sculpting exercise in Blender. I finished it up and did not think about the sculpt again for months. Then when I was going through my old stuff I happened upon the sculpt and thought, "Wow, he looks like the Silver Surfer!" So, without further ado I gave him a nice chrome material, made a quick surfboard and gave him glowy eyes. (If you have not noticed, I am a an of glowy eyes.) The only thing that gave me trouble really was the reflection of the bust was showing in the surfboard. This made it obvious that it was just a bust, and not a whole character. I had to add a quick arm object on the side of the model to show up in the reflection! Oh, and by the way, if you are looking for great space backgrounds,
www.nasa.gov is the way to go.


